
August 5, 2026
How to monitor a Raspberry Pi from your iPhone
Turn on SSH, add the Pi as a machine, and its CPU, temperature, memory, storage, and network arrive on your phone within seconds. Nothing to install on the Pi.
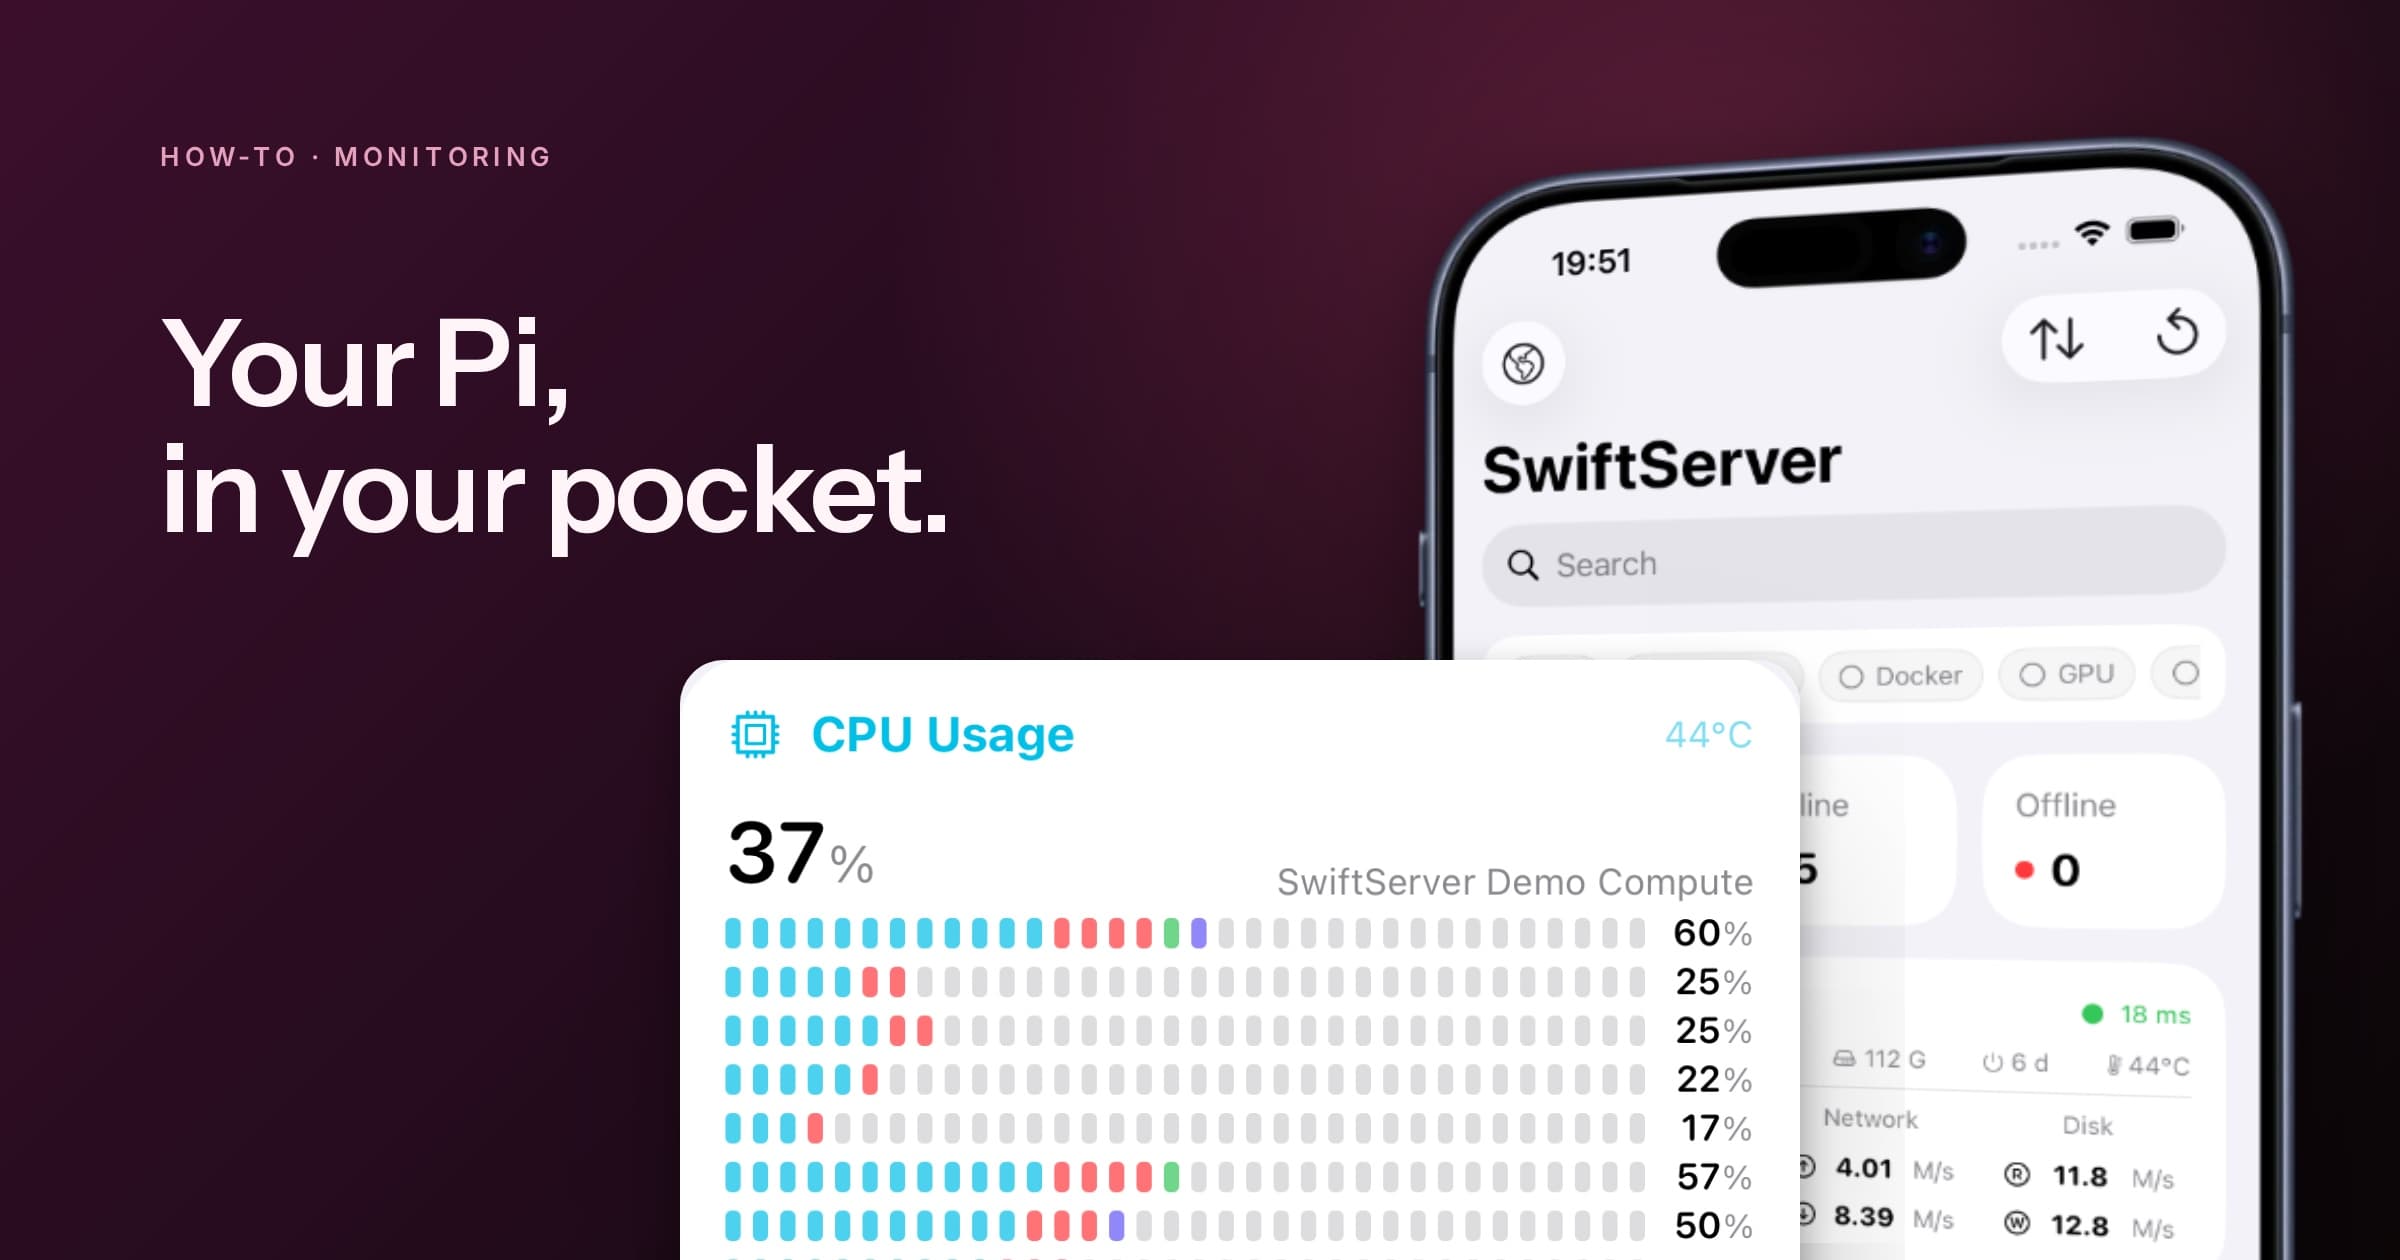
A Raspberry Pi already has everything a monitor needs: SSH, /proc, and a temperature sensor the kernel exposes. Point SwiftServer at it, and the status page shows CPU per core, temperature, memory, storage, and network traffic, refreshed every few seconds.
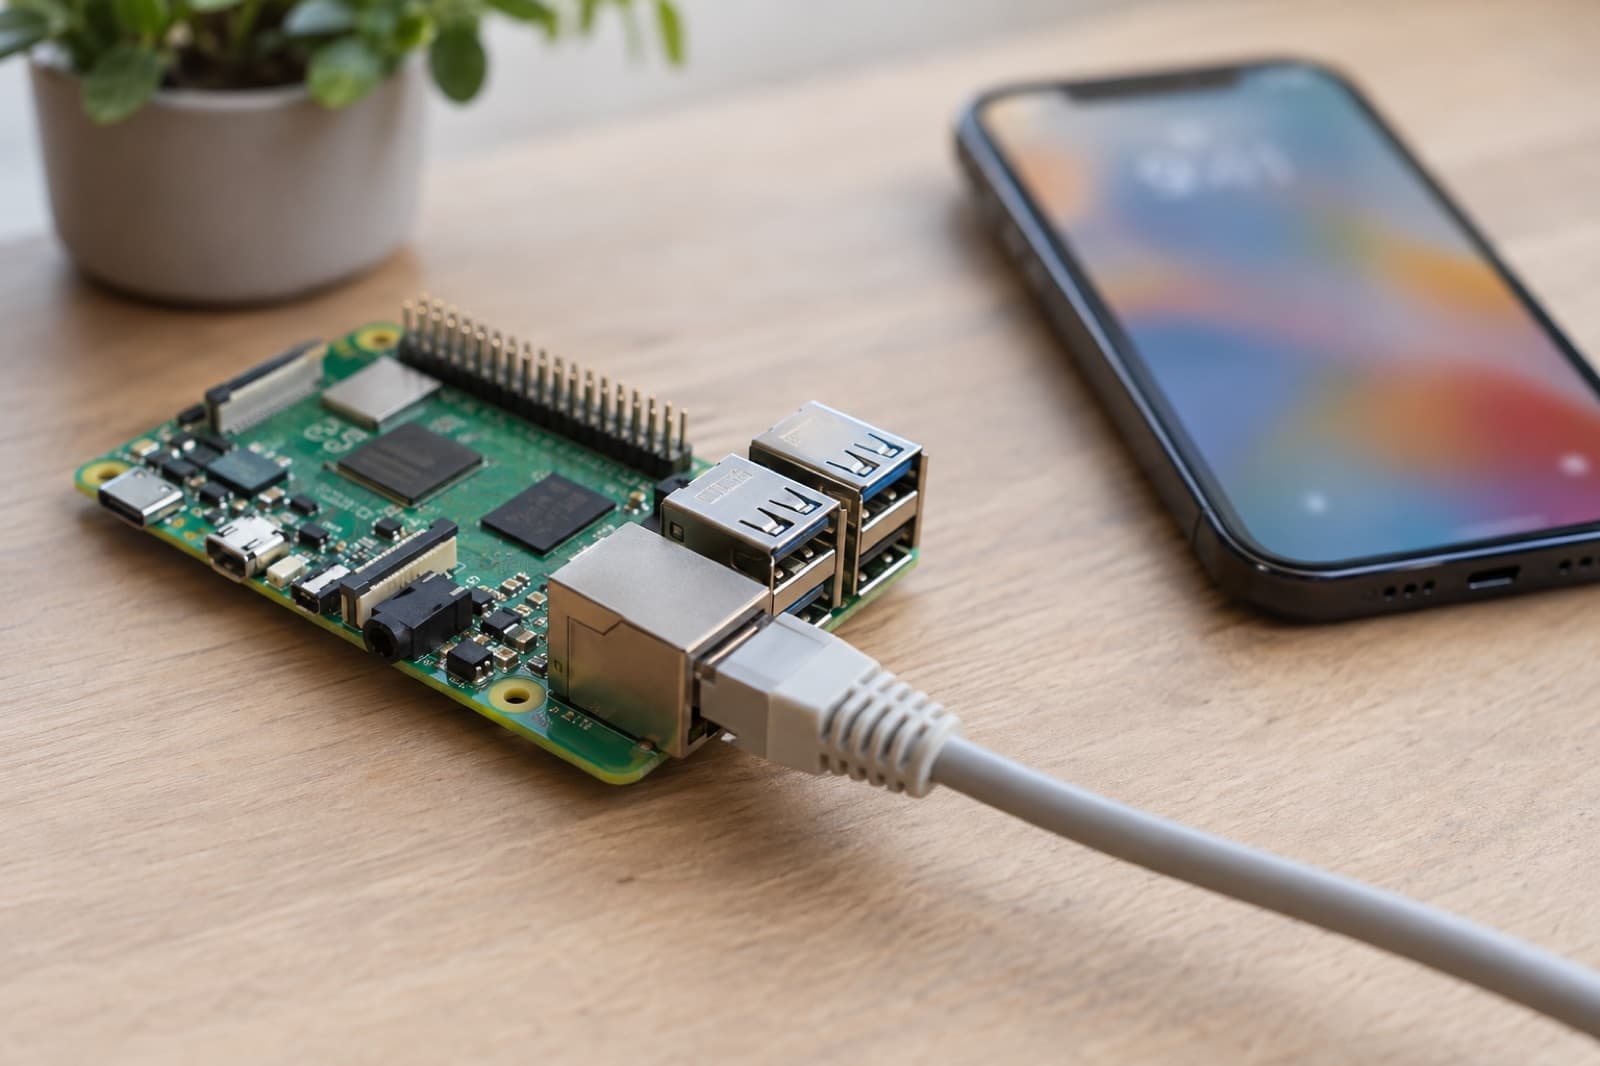
1. Turn on SSH on the Pi
If you flashed the card with Raspberry Pi Imager, SSH is a checkbox under OS customisation → Services. Tick Enable SSH, pick password or public-key login, and the Pi boots ready.
On a Pi that is already running:
sudo raspi-configGo to Interface Options → SSH → Yes. Or from the desktop, Preferences → Raspberry Pi Configuration → Interfaces → SSH.
Check it from any terminal on the same network:
If that logs you in, SwiftServer will too.
2. Add the Pi as a machine
Open SwiftServer, tap + on the dashboard, and fill in:
- Host:
raspberrypi.local, or the Pi's IP address if mDNS is unreliable on your network - Port:
22 - Authentication: the user and password you set, or the SSH key you flashed onto the card
Tap Test Connection. The first time, SwiftServer shows the Pi's host key fingerprint and asks you to trust it. Then Save.
Leave Show Status in Dashboard on. That switch turns a saved machine into a monitored card.
3. Watch the cards fill in
The Pi appears on the dashboard with its latency. Within a few seconds, the status page shows:
- CPU Usage, one row per core, with the board temperature in the header. The Pi reports it through the same kernel interface as a desktop, so it needs no setup.
- CPU Load, the 1, 5, and 15 minute averages on one chart.
- Memory, with cache drawn apart from memory really in use, so an 8 GB Pi looks a lot healthier.
- Storage, the SD card or SSD with its capacity bar, plus read and write speed underneath.
- Network, live upload and download on the active interface.
- Processes, the live table, heaviest first.
If Pi-hole, Home Assistant, or anything else runs in Docker, the Docker card appears by itself with each container's CPU and memory. The full Docker panel is one tap away.
Keep it on the Home Screen
Add the SwiftServer Machine widget and pick the Pi. It shows status, latency, CPU, memory, network, disk, uptime, and temperature, so you can spot a throttling Pi without opening the app.
Questions
Does the Pi need anything installed? No. SwiftServer reads what the Pi already reports with read-only commands over SSH, and nothing stays running afterwards.
Which Pi models work? Any model that runs Raspberry Pi OS or another Linux and accepts SSH, from the Pi Zero to the Pi 5. Raspberry Pi OS is Debian, so the Pi gets the full Linux card set.
Can I see the CPU temperature?
Yes. It sits in the CPU card's header and in the Machine widget, read from the same sensor vcgencmd measure_temp uses.
Is it free? Yes. The dashboard monitors three machines at a time on the free tier, and saved hosts, the terminal, and SFTP are unlimited.
Does it work away from home? Yes, as long as the Pi is reachable over SSH: through a VPN such as Tailscale or WireGuard, a jump host, or a forwarded port. SwiftServer supports jump hosts and Mosh for the road.
The monitoring docs cover setup on every platform, and the monitoring feature page walks through each card. Still choosing an app? The best server monitoring app for iPhone compares SwiftServer with the alternatives.
Related posts
September 18, 2026
The Best Server Monitoring App for iPhone in 2026
Seven iPhone apps that show CPU, memory, disk, network, GPU, and Docker for your servers, compared on what they monitor, whether they need an agent, platforms, and price.
September 2, 2026
How to manage Docker on a VPS from your phone without exposing the API
Restart a container, read its logs, and pull a new image from your iPhone, over the SSH connection you already have. The Docker daemon stays unreachable from the internet.